Original Post Date- 3/7/12, 2:33 PM Central Standard Time

This tutorial is borne from my own manipulated lil' mind.
Any similarity to any other tutorial(s) is purely coincidental.
This tutorial was written for those who have a working knowledge of PSP
and was written using PSP XI, tho' any version
should work.
Supplies Needed:Scrapkit is A Page From Paradise from my Sis, Tragedy
at
Tragedy's Creationz.
This is a pay to use kit & you can still find it
here at PFD.
Mask of choice. I used MB and SW Mask 22
from
MoonBeams & Spiderwebs.
Tube: of choice. I am using the always beautiful artwork
of Jay Trembly, named Red Mermaid.
I had bought this tube from Jay at SATC.
Do NOT use this artwork unless you have a license to do so
& have purchased the tube.
Filters: Xero- Radiance
Eye Candy 4000 Gradient Glow (name only), optional
Font: of choice.
Let's do this!
Save your progress often.
Drop shadow used in this tutorial is 2 4 50 3.
Open up a new image, sized 700 X 700 px.
Copy & paste Paper 20 onto your canvas.
Apply your mask of choice & merge group.
Resize to 110%.
Next copy & paste Frame 4 & resize 60%.
With your magic wand, click inside the frame.
Modify- Expand by 4. Invert.
Copy & paste Paper 9, resized 65%.
Hit delete. Keep selected & copy
& paste your closeup tube.
Hit delete again & select none.
Drag both the paper & closeup below your frame in the layers palette.
On your closeup, apply Xero-Radiance at these settings:
Change the opacity of your closeup to 40%.
Add a drop shadow to your frame.
Next, add your main tube & resize if needed.
Apply Xero- Radiance again, but at these settings:
Add your drop shadow.
Now, let's add some elements.
For each element I added,
I sharpened & added a drop shadow.
Towel- resize 80%.
Place it under your tube & move to
just above your mask in the layers palette.
Shells Chain- resize 70%.
Place on the top of your frame.
Erase the two shells that stick out on either side of the frame.
Next add the Sand Castle & resize 50%.
Sharpen & move to the right.
Drag below your main tube layer in layers palette.
Copy & paste Palm Tree 2.
Resize 50% & sharpen. Add a drop shadow.
Position this behind the sand castle on the right.
Duplicate & resize the 2nd palm tree 80%.
Position this just in front of the larger tree.
For the Coconut Drink, resize 25%.
Sharpen & drop shadow.
The Hibiscus Bouquet 2 element, I resized 45%.
Then mirror & flip.
Place this at the top left corner of the frame.
Using your eraser, carefully erase the stems.
Sharpen & add a drop shadow.
The Shell 1, shell 2 & shell 3 elements- resize each 20%.
Sharpen & drop shadow.
Duplicate each & scatter randomly.
Starfish- resize 20%.
Sharpen & drop shadow.
Duplicate & again, scatter them a bit.
Crop &/ or resize your tag to your own liking.
Now add your proper copyrights & watermarks.
Next add your name, using a font of choice.
Duplicate this name layer.
On the top layer, add a bevel:
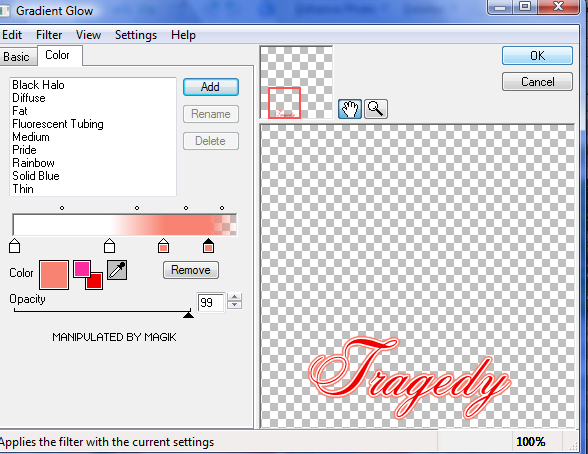
On the bottom name layer, give it a gradient glow set at 3:
Then add your drop shadow to this bottom name layer.
Merge your layers visible, save as a PNG & you're finished.
I hope you had fun trying this tutorial.
I'd love to see your results.
*hugz*


 Subject: PTU- Mermaid From Paradise
  Sat 15 May 2021 - 11:06


