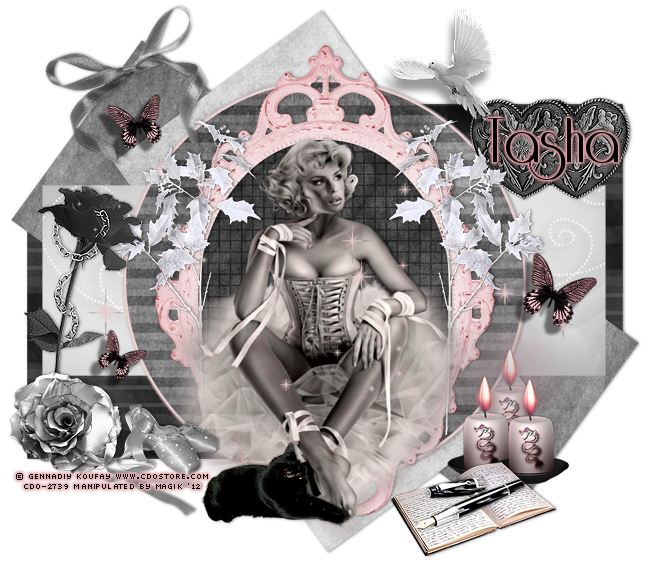
Original Post Date- 8/6/12, 11:47 PM Central Standard Time

This tutorial is borne from my own manipulated lil' mind.
Any similarity to any other tutorial(s) is purely coincidental.
This tutorial was written for those who have a working
knowledge of PSP and was written using PSP XI,
tho' any version
should work.
Supplies Needed: Scrapkit: I'm using an elegant kit from Tasha's Playground
named Breathe Me.
This kit has since been made FTU and can be found
here.
*
Leave some love when snagging the kit.
 Tube:
Tube: I'm using the stunning artwork of Gennadiy Koufay.
I had bought this tube at
CDO.
Do NOT use this artwork unless you have a license to do so
& have purchased the tube.
Template: Temp. 185 from Kristin at Toxic Desirez.
You can find this template on
this post here.
*
Leave some love when snagging the temp.
 Filters:
 Eye Candy 4000- Gradient Glow
Font: Riesling (Bold)
Drop shadow: 0 1 50 4, black.
Save your progress often.
Let's do this!
Open up the template.
Duplicate it & close original.
Delete the credit layer at the top.
Resize the temp. so it's 650 px. in width.
Working from the bottom layer of the template, up:
Top Rectangle -
Select all- float. Defloat- Invert.
Delete this layer & paste paper3, resized 70%.
Hit delete & select none.
Duplicate. Mirror & flip.
Crop to canvas.
Add a drop shadow to each.
Delete Bottom Rectangle.
Top Square-
Select all- float. Defloat- Invert.
Delete this layer & paste paper2, resized 70%.
Hit delete & select none.
Duplicate. Mirror & flip.
Crop to canvas.
Add a drop shadow to each.
Delete Bottom Square.
Black Top Rectangle-
Select all- float. Defloat- Invert.
Delete this layer & paste paper1, resized 70%.
Hit delete & select none.
Duplicate. Mirror & flip.
Crop to canvas.
Drop shadow both.
Delete Black Bottom Rectangle
Circle- Select all- float. Defloat- Invert.
Delete this layer & paste paper5, resized 70%.
Hit delete & select none.
Crop to canvas.
Add a fat gradient glow in a pale pink:
Then add your drop shadow.
Rectangle-
Select all- float. Defloat- Invert.
Delete this layer & paste paper7.
Hit delete. Select none.
Move this layer below your circle layer.
Next, copy & paste frame3.
With your magic wand, click inside the frame.
Modify- expand by 3. Invert.
Paste paper6, resized 70%.
Hit delete & select none.
Duplicate this paper & set it to Multiply.
Duplicate again.
Add a drop shadow to your frame.
Next add your tube.
Resize 80%.
If you are using a coloured tube, desaturate it.
Add your drop shadow.
Next we'll add some elements.
For each one I added, I sharpened & added
a drop shadow to, unless specified otherwise.
bow2- 65%
journal- 55%
pen- 55%
Rotate 45 right.
hearts- 80%
branch- 70%.
Duplicate & mirror.
flower2- 45%
cat- 50%
candle- 65%.
Duplicate twice.
No drop shadow.
bird2- 45%
Drop shadow: 11 -4 40 10
ballet shoes- 55%.
Desaturate.
rose- 80%
butterfly- 40%.
Duplicate & resize 80%.
Duplicate again & resize 80% again.
Rotate these & scatter them on the tag.
Use your manual color correction tool to change
the white on each to #eccbce.
Drop shadow for each:
8 -8 50 4
sparkle2- Use the manual color correction to change
the colour to the same as the butterflies.
Add any other elements, if you prefer at this time.
Now, crop/ resize your tag to your own preferences.
Then, add your proper copyrights & watermarks.
Now add your name.
Add a gradient glow:
Then add your drop shadow.
Merge visible, save as a PNG & enjoy.


 Subject: PTU Now FTU- Subtle Blush
  Fri 21 May 2021 - 10:57


