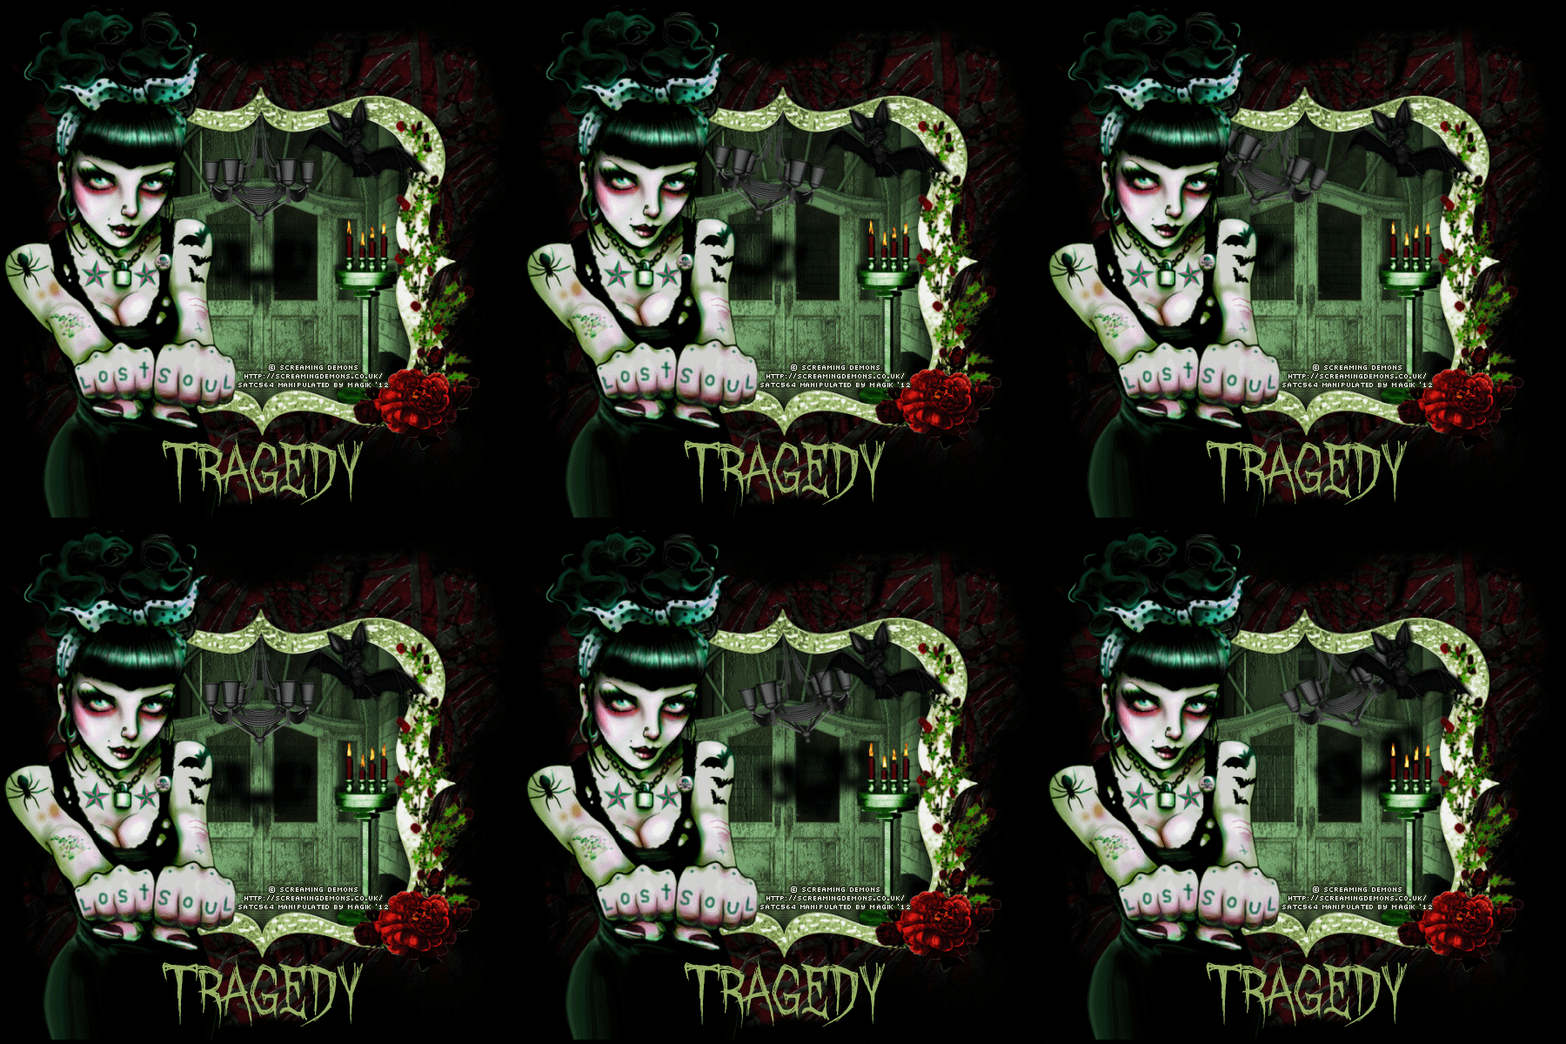
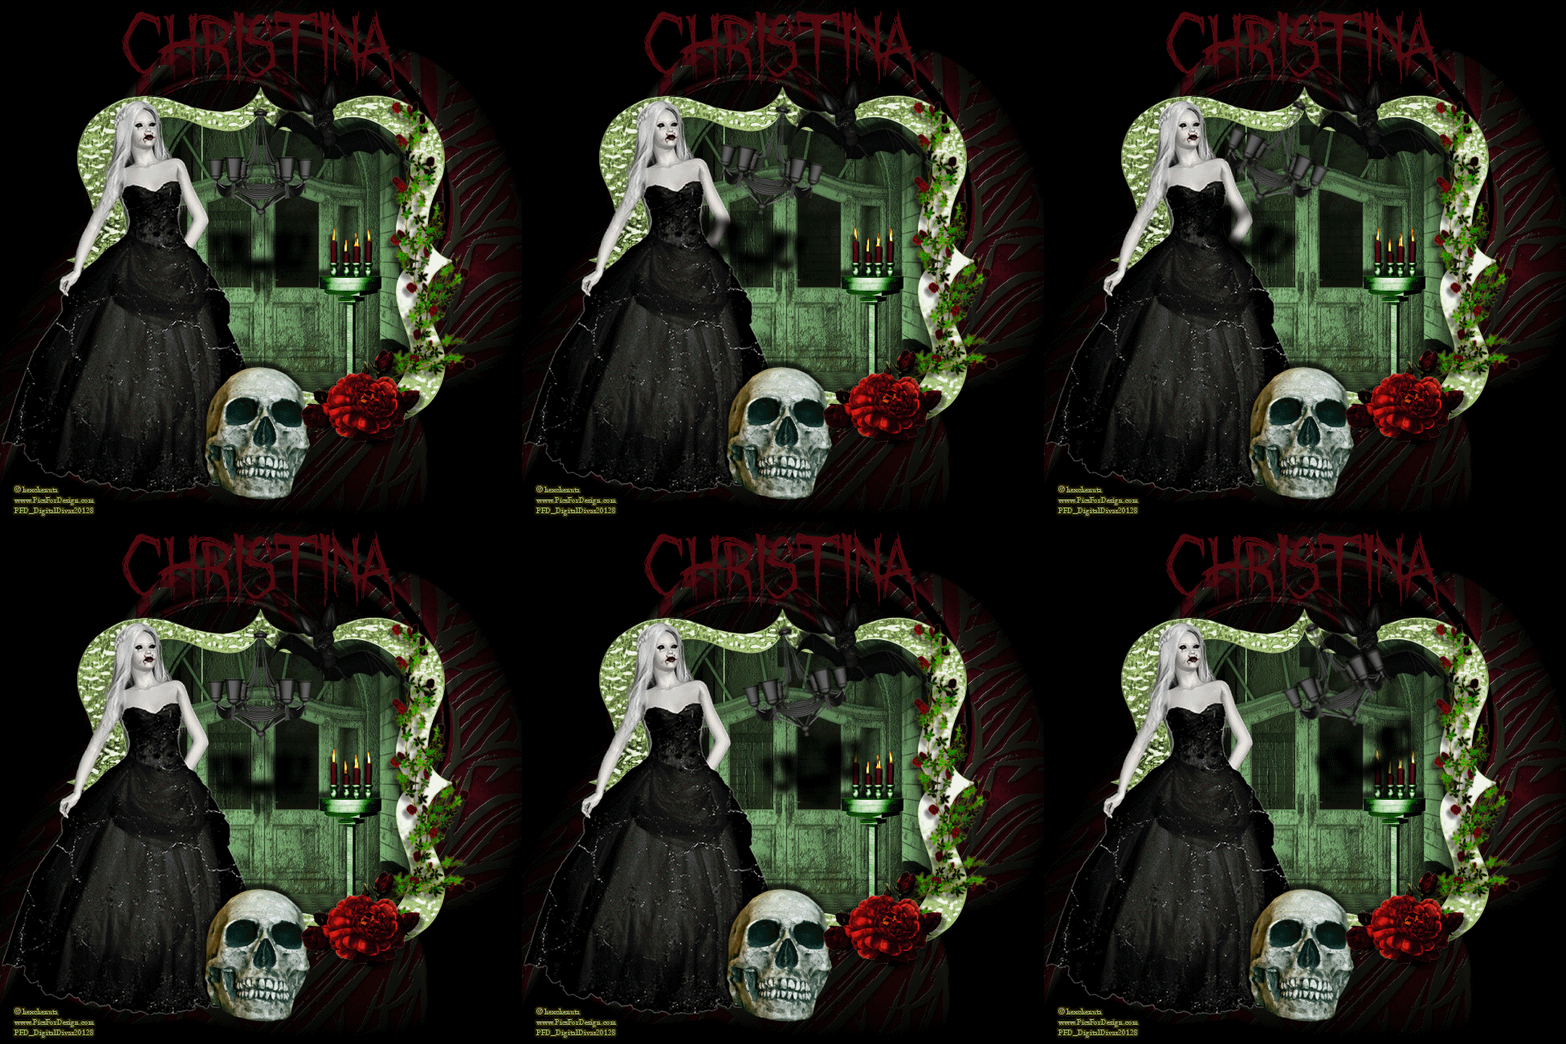
Original Post Date- 10/30/12, 5:55 PM Central Standard Time
This tutorial is borne from my own manipulated lil' mind.
Any similarity to any other tutorial(s) is purely coincidental.
This tutorial was written for those who have a working
knowledge of PSP and was written using PSP XI,
tho' any version should work.
Supplies Needed: Scrapkit: I'm using a FTU kit from Tragedy.
This kit is part of an awesome Blog Train, named Pick Your Poison
You can find this kit on Tragedy's blog,
here.
Tube: I'm using the wicked art work of Screaming Demons.
I had bought this amazing tube at SATC.
Do NOT use this artwork unless you have a license to do so
& have purchased the tube.
Mask: Of choice.
*If the animating of the chandelier is a pain, you
can grab the animation I made for you
here.
Filters: Eye Candy 5- Nature- Fire
Font: October Crow
Drop shadow: 0 3 65 4, black.
Save your progress often.

Let's do this!
Open up a new image- 650 X 650.
Flood fill black.
Copy & paste Paper 7.
Apply your mask.
Merge group.
Next, copy & paste Frame 2.
With your magic wand, click inside the frame.
Modify- expand by 2. Invert.
Copy & paste Paper 5, resized 65%.
Hit delete & select none.
Move this paper under your frame in layers palette.
Now, add your tube.
Resize to fit the tag.
Move the tube to the left of the tag.
Next we'll add some elements.
For each one I added, I sharpened & added
a drop shadow to, unless specified otherwise.
Rose vine- 80%.
Rotate 90 right.
Place on the right of the frame.
Bat- 55.
Place in top left corner.
Roses 2-
Erase the stems & leaves up to the blossoms.
Then resize 55%.
Place in bottom right of frame.
Chandelier- 50%.
Place this in the center of the frame, at the top.
Move below the frame in layers palette.
Drop shadow this, using these settings:
100 0 100 15, black.
Candles 2- 50%.
Place this inside the frame to the right.
Drop shadow this using -8 -2 70 5, black.
Now, carefully use your selection tool,
set to rectangle & make selections
above each candle for the flames.
Add a new layer & name it fire 1.
Add Eye Candy 5- Nature- Fire.
With the settings to small candle,
use these settings:
On the colors tab, make sure you have
Natural Flame colors ticked.
Hide this layer for now.
Add a new layer, naming it fire 2.
Apply the fire again, hitting random seed.
Hide this layer.
Repeat so you have 5 fire layers,
hitting the random seed as you go.
Then select none & unhide your fire 1 layer.
Add any other elements, if you prefer at this time.
Now, crop/ resize your tag to your own preferences.
Then, add your proper copyrights & watermarks.
Next, add your name.
Since this will be on a dark background
(if animating),
there's no need for a gradient glow.

Now let's get ready to animate:
Making sure you only have fire 1 layer visible,
copy merged & paste into Animation Shop.
Back in PSP, on your chandelier layer , duplicate it.
Name the original layer 'chandelier 1' & link it & the frame to 1
(this is to save our starting point

).
Name your duplicated layer 'chandelier 2'.
Now, on your chandelier 2, rotate it 12 right.
Move it down slightly so the bottom lines up with the original
one like shown in my example:

Now, hide chandelier 1,
hide fire 1 & unhide fire 2.
Copy merged & paste after current frame in A.S.
Back in PSP, duplicate chandelier 2 & name it chandelier 3.
Rotate this one 12 right,
using the first chandelier 1 or 2
as your guide (if needed).
Make sure you hide them when finished
lining up your chandelier 3.

Now, hide fire 2 & unhide fire 3.
Copy merged & paste after current frame in A.S.
Go back to chandelier 2 & unhide.
Hide chandelier 3.
Hide fire 3 & open fire 4.
Copy merged & paste after current frame in A.S.
Hide chandelier 2 & unhide chandelier 1.
Hide fire 4 & open fire 5.
Copy merged & paste after current frame in A.S.
Hide chandelier 1 & unhide chandelier 2.
Mirror.
Hide fire 5 & open fire 4.
Copy merged & paste after current frame in A.S.
Hide chandelier 2 & unhide chandelier 3.
Mirror.
Hide fire 4 & open fire 3.
Copy merged & paste after current frame in A.S.
Now, in animation shop, select all frames.
Animation- Frame Properties: set to 20- 25.
Finally, save as a gif & you're finished.

*hugz*
*Originally re-posted Nov 4th 2019 at http://himaddicts.spruz.com/
**Edited & updated by Magik on 23 May, 2021


 Subject: FTU- Pick Ur Poison
  Sun 23 May 2021 - 0:20


