Original Post Date- 7/13/13, 2:20 AM Central Standard Time
This tutorial is borne from my own manipulated lil' mind.
Any similarity to any other tutorial(s) is purely coincidental.
This tutorial was written for those who have a working
knowledge of PSP and was written using PSP X2,
tho' any version should work.
Supplies Needed: Scrapkit: I'm using a FTU kit from
Tasha's Playground, named Misfits Birthday.
Find the link to it,
here.
Tube: I'm using the artwork of Arthur Crowe.
I had bought this stunning artwork
in his Arthur Crowe's Factory shop.
Do not use this artwork unless you have a license to do so
& have purchased the tube.
Mask: RLB-Mask 6 from RedHeadLadybug,
part of the May 2013
Creative Misfits Choices masks.
Find the pack of masks
here.
Filters: DC- 1972 (Optional)
or filter of choice for tube
Eye Candy 4000- Gradient Glow
Font: Easy Rider
Drop shadow: 2 -2 50 4, black
Save your progress often.

Let's do this!

Open a new canvas 650 X 650 px.
Copy & paste paper3.
Apply the mask & merge group.
Resize 115%.
Now, copy & paste frame6.
With your magic wand, click inside each square
of the frame.
Modify & expand by 3. Invert.
Now, paste paper2, resized 80%.
Hit delete & select none.
Move the paper below your frame &
add a drop shadow to the frame.
Next, copy & paste frame4.
Resize 80% & move slightly to the left.
Again, click inside the circles of the frame
with your magic wand.
Modify & expand by 4. Invert.
Copy & paste paper6, resizing 70%.
Hit delete, keep selected.
Add your closeup, resizing as desired.
Hit delete & select none.
Crop to canvas.
Move both the paper & closeups under the frame.
Merge the closeups together.
Duplicate.
On the top one, add a Gaussian blur of 3.
Change the Blend Mode to Screen at 55%
Next, add your main tube.
Resize as needed.
Place her in the middle.
Apply DC- 1972 at these settings
(you should only have to adjust the top 3):
Or use another filter & settings of choice.
Add a drop shadow to your tube.
Now we'll add some elements.
For each one, I added a drop shadow to,
unless specified otherwise.
glitter spray- Move this to just above
your mask in layers palette.
disco ball- 75%. Mirror.
Place this on the left of your tube.
present- 55%. Duplicate
Place both on right of tube.
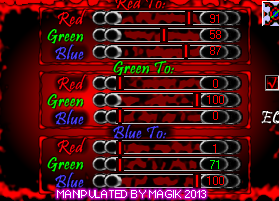
On the top one, use Manual Color Correction:
#fad1e5- Source & #3d89eb- Target.
Then resize this one another 85%.
cake- 45%.
Place on the left.
bubbles- 40%.
Rotate 90 right.
Place in front of your tube.
jello shot- 35%.
Duplicate.
Place both off to the left.
balloon4- 60%.
Duplicate so you have 4.
Place two off to the right.
Rotate one 8 right & the other 12 left.
The two left ones:
Rotate one 10 left &
rotate the other 15 right.
Move both the left balloons under
your 2nd frame in layers palette.
candle1 or candle2- 27%
Place 'on' the cake'.
Add any other elements if you prefer.
Crop & resize to your own liking.
Now add your proper copyrights & watermarks.
Now add your name.
Add a gradient glow at these settings:
Then add your drop shadow to this layer.
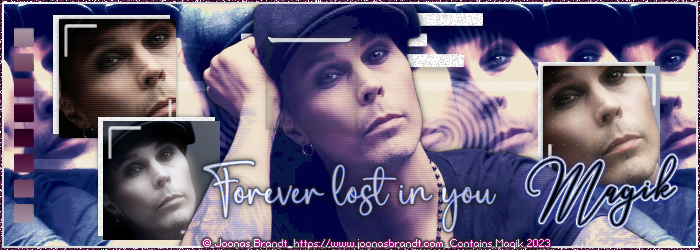
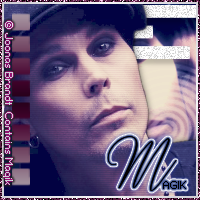
Finally, merge visible & save as a PNG & enjoy.
I hope you have fun trying this tutorial.
I'd love to see your results!

*hugz*
*Originally re-posted Nov 5th 2019 at http://himaddicts.spruz.com/
**Edited & updated by Magik on 26 May, 2021


 Subject: FTU- Birthday Punk
  Wed 26 May 2021 - 20:10