This tutorial is to show you
how to add a gradient glow or background
of colour to text in your tags-
specifically for your watermarks- the small text.
There are two ways to do this-
one using Eye Candy Gradient Glow
& another using a flood- fill method.
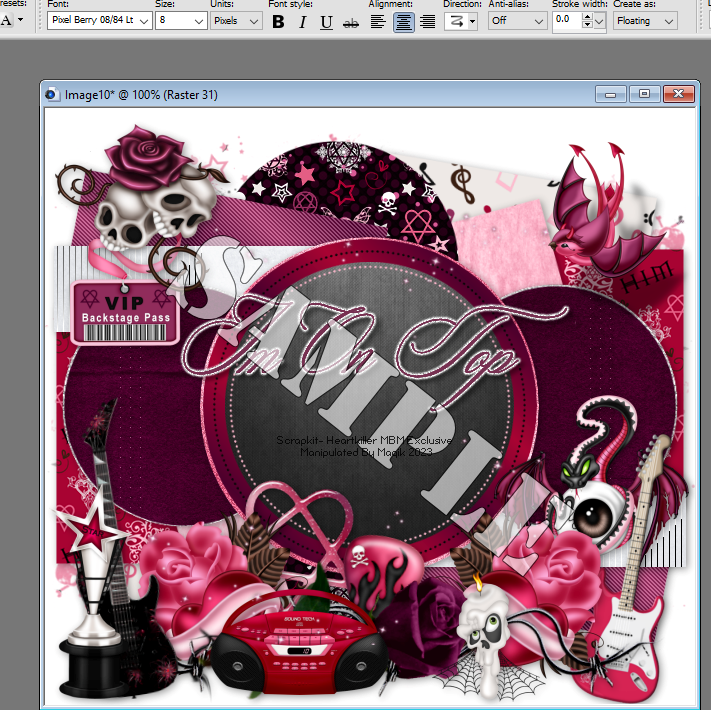
*The example tag I'm using is made with my
'Heartkiller' kit which is a forum exclusive here.
I did not use any artwork on this tag,
since it is for example use only (at least for now).
This tutorial should be quick & easy for you.

Please do
NOT repost this tutorial.
You may link to it, however.
Also, do
NOT steal my screen shots/ examples.
Thank you.

This tutorial is borne from my own manipulated lil' mind.
Any similarity to any other tutorial(s) is purely coincidental.
This tutorial was written for those who have a working
knowledge of PSP and was written using PSP X1,
tho' any version of PSP should work.
Supplies Needed:Your tag that you're working on.

At this point your tag should be completed.... mostly.
Add your watermark using a font of choice.
Make sure the font is a legible font
when sized down to a smaller size.
Pixel fonts are the best to use for this.
If using a Pixel font, the size should be 8
& the Anti-alias should be 'Off' like my example here:
Now that you have your watermark added
with the correct information & copyright,
you can add a glow to it to make it more visible.
In my example, I used black text,
so my examples will show using a white glow.
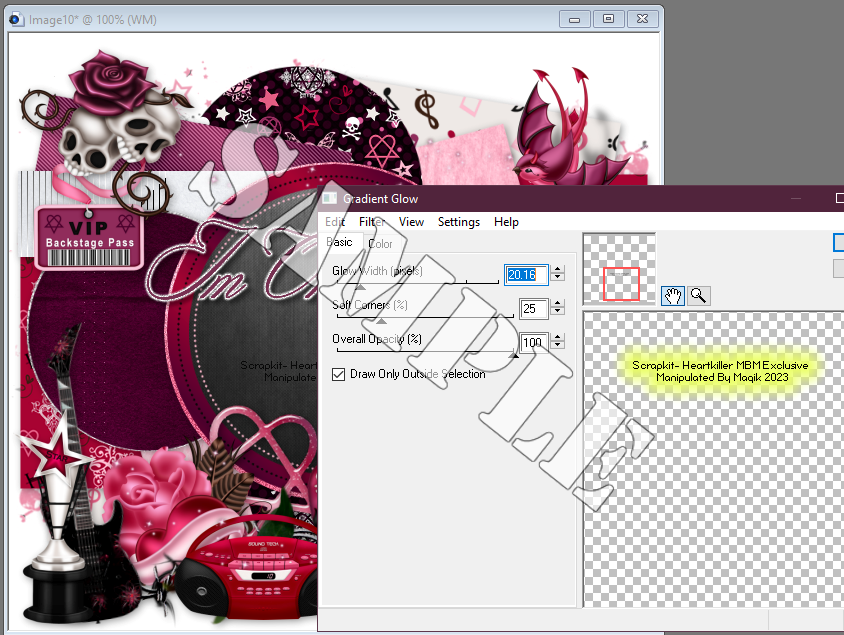
If you have Eye Candy Gradient Glow,
these next examples will show you how to
add a GG to your watermark.
The version I'm using is Eye Candy 4000.
Go to your Effects then to Eye Candy 4000,
selecting Gradient Glow.
You should have a window that pops up like this:
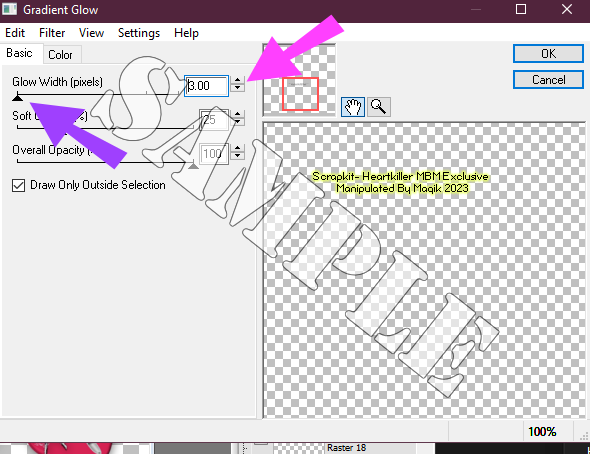
In my example, I moved the slider down to 3 (purple arrow),
or you can type it in (pink arrow).
Leave the rest of the settings as they are.
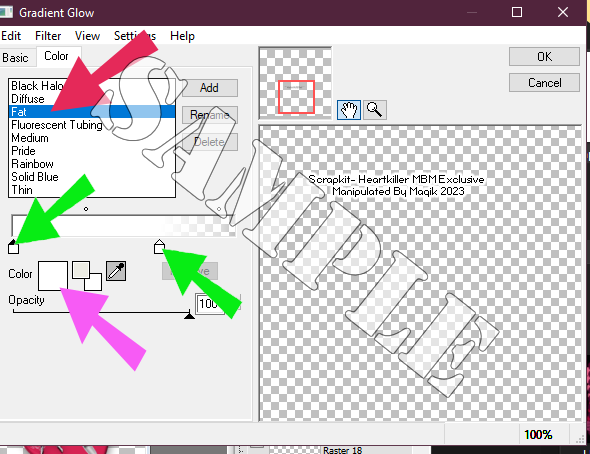
Next, click that Color tab:
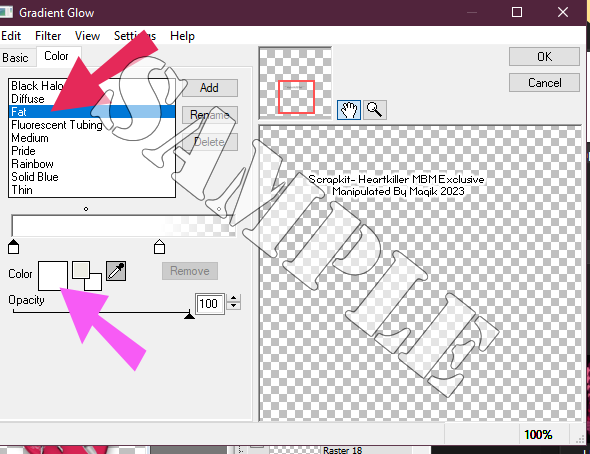
Now, with the Color window open,
you can select a 'Fat' glow for your text,
which is the best option (red arrow).
Pink arrow- click on the box to bring up
your color palette to select a color.
For my examples here, I'm sticking with white.
*Please note- when changing your color,
you'll have to select both those little boxes (green arrows)
then click on the bigger box (pink arrow)
after selecting each smaller one:
This is my tag using a white, fat Gradient Glow:
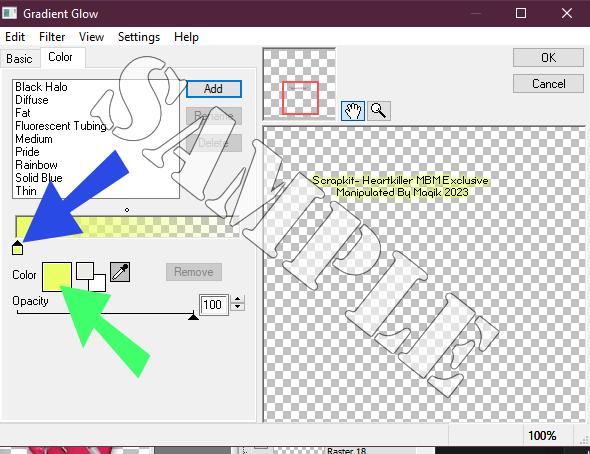
For my next example, I didn't select a style of glow,
and only changed my color to white from yellow,
which will give a thin, light glow effect.
This is my result:
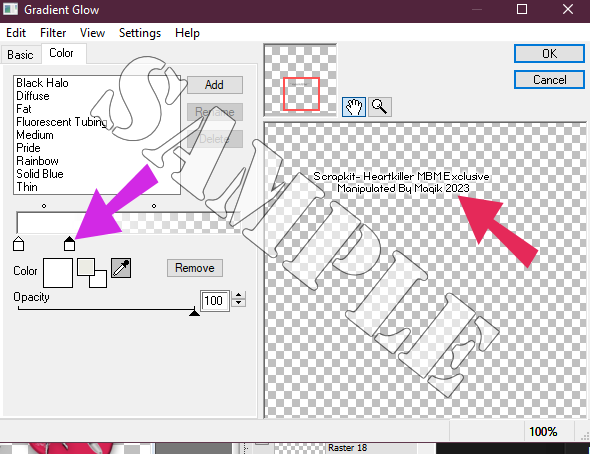
If you click anywhere on that bar
where the first little box is, you can
make another little box appear.
You can then position it where you
want to adjust the thickness of your glow,
if you're not wanting that 'Fat' glow.
This is my example using the above settings I chose:
Another way you can add this effect
if you don't have the Eye Candy plugins (effects)
is to add a flood-filled layer.
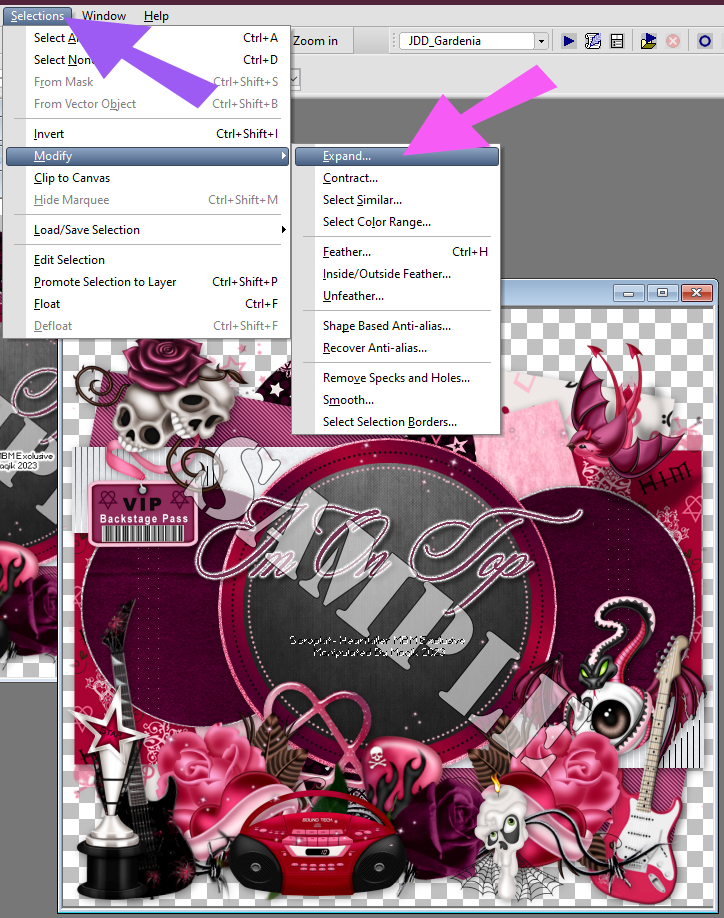
On your watermark (text) layer,
Go to Selections- Select All-
Selections- Float
Selections- Defloat.
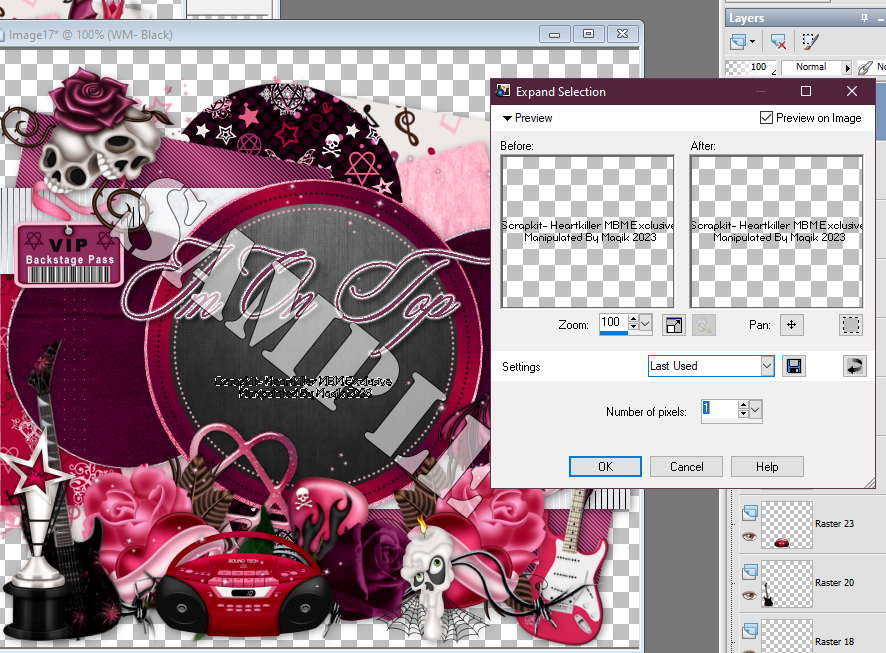
Selections- Modify- Expand:
You should only have to expand by 1:
Click OK.
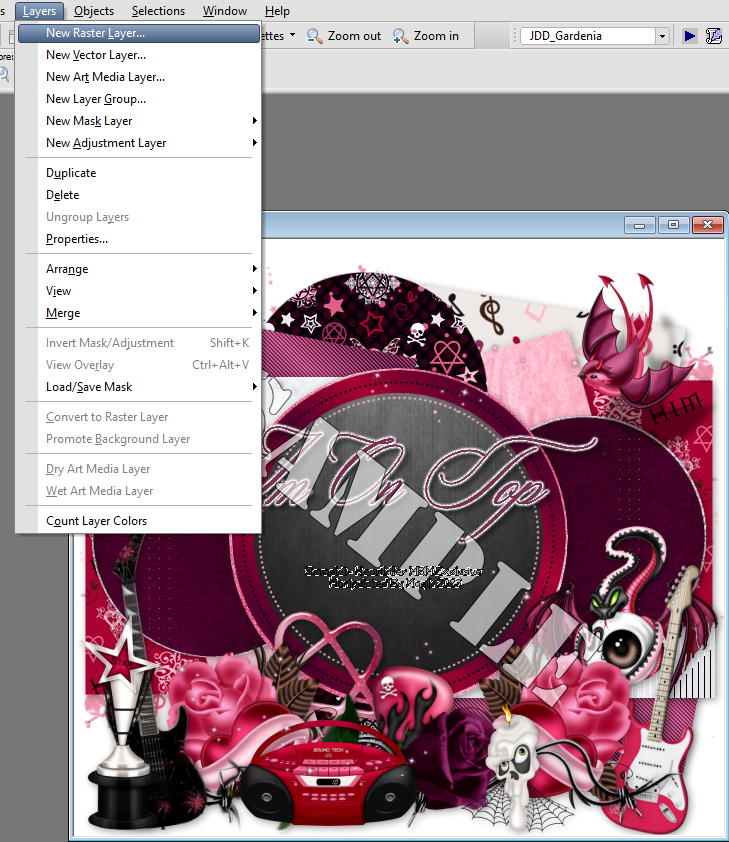
Next, add a new layer:
Move this layer BELOW your text layer:
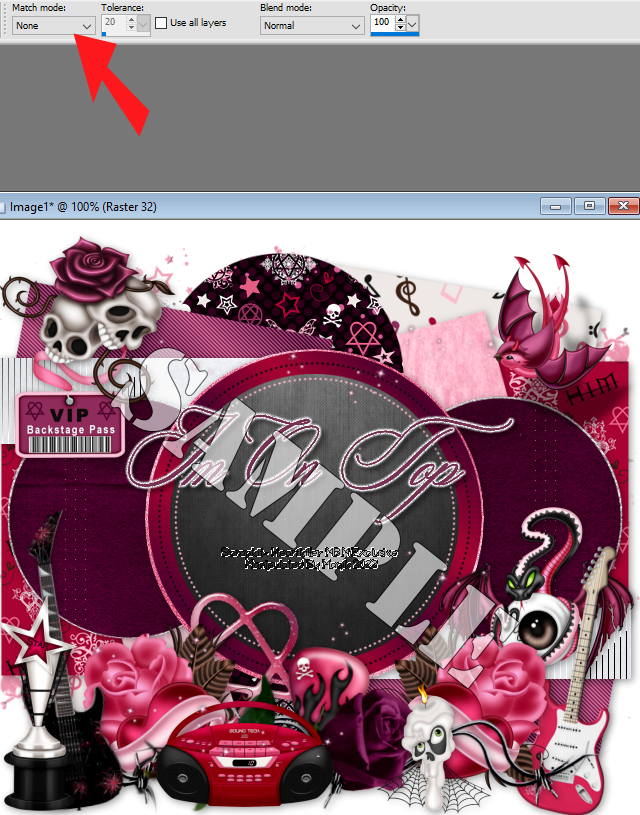
Next select your flood fill (bucket) tool.
Make sure your settings are like my example
(red arrow) in the tool bar:
Select your color (in this case white) from your color (Materials) palette.
Flood fill your selected layer & then select none.
Your watermark should now look like my example:
Now you can merge your layers & save your tag.
I hope you find this tutorial useful.

Thank you for looking.


 Subject: Adding A Gradient Glow Or Background For Text
  Sat 3 Jun 2023 - 11:26